Before / After Slider
Job-proof comparison, drag or arrow-key the divider between before and after panels, with honest labels and a job summary line. Built for bathroom renos, not screenshots.
Preview & code
Installation
pnpm dlx shadcn@latest add @cleverui/trade-before-afterRequires the @cleverui registry in your components.json, a one-off, two-line setup.
Usage
API reference
TradeBeforeAfter accepts the following props.
…plus everything from React.HTMLAttributes<HTMLElement>: className, event handlers, aria attributes and the rest pass straight through.
Related components
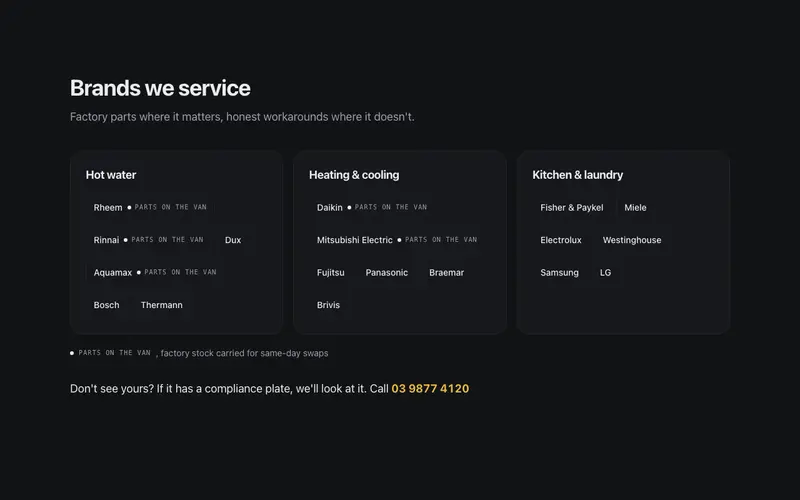
Brands We Service
A brands-we-service wall for React, text-only brand chips grouped by appliance, parts-stocked tags, and a call fallback. Tailwind tokens, zero logo assets.
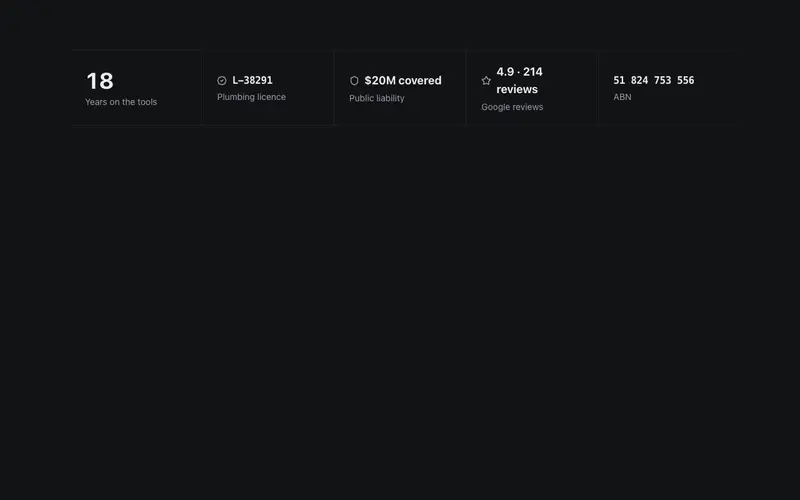
Credentials Bar
The trust strip that closes trade jobs, license number, insurance, years on the tools, and review score in one sturdy row. Mono where it's data, bold where it's pride.
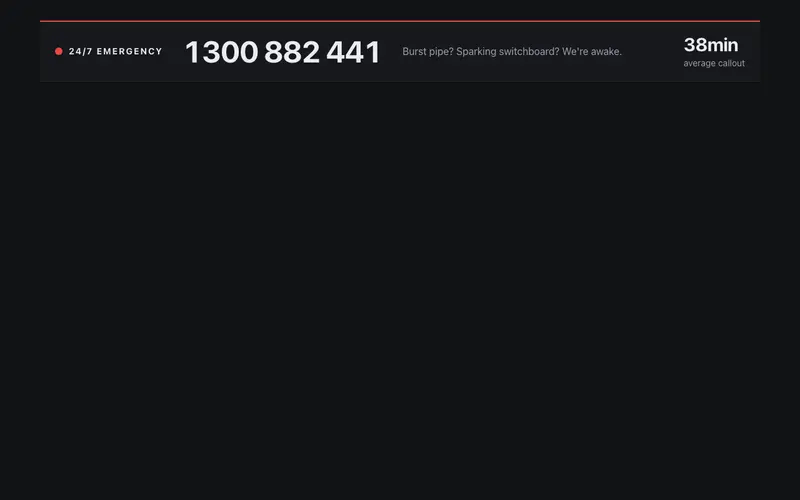
Emergency Bar
A 24/7 emergency strip, a lamp that pulses once, the phone number set huge for wet thumbs, and an average-callout stat that counts up. Urgency without panic, dependable at 2am.
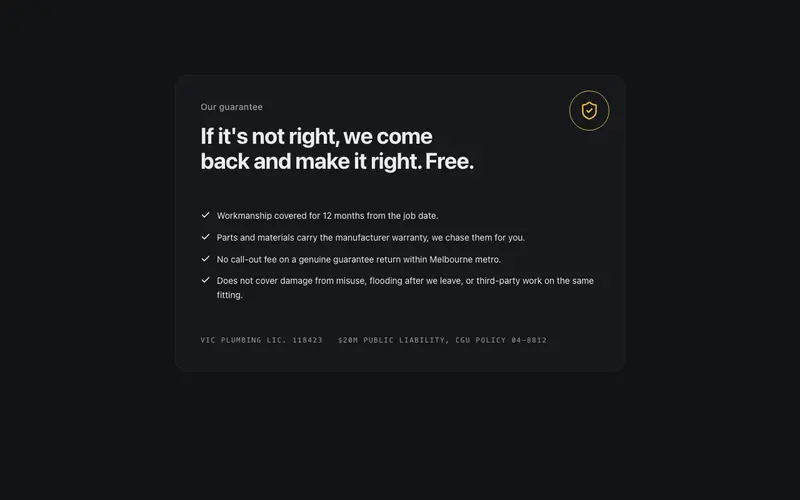
Workmanship Guarantee
The guarantee set large and plain, one promise sentence in display type, terms in honest small print at a readable size, and the license and insurer line in mono. A handshake, not a legal wall.
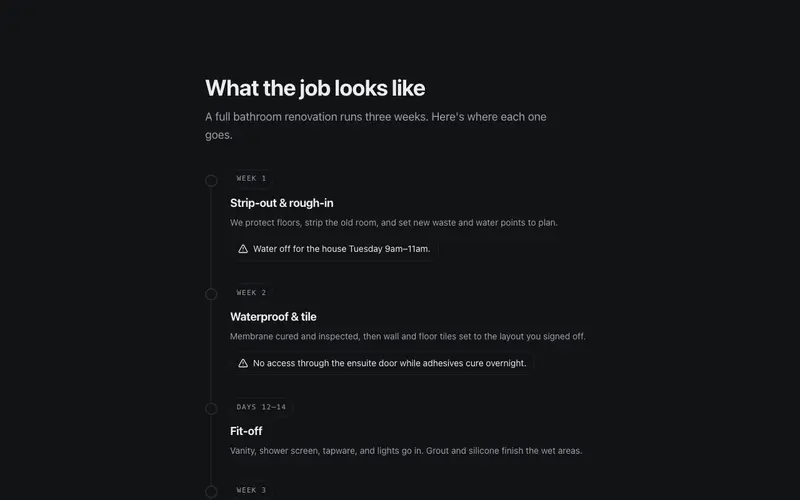
Job Timeline
Renovation job timeline React block, week-by-week phases on a vertical spine with mono date windows and heads-up disruption notes. Tailwind, plain-spoken.
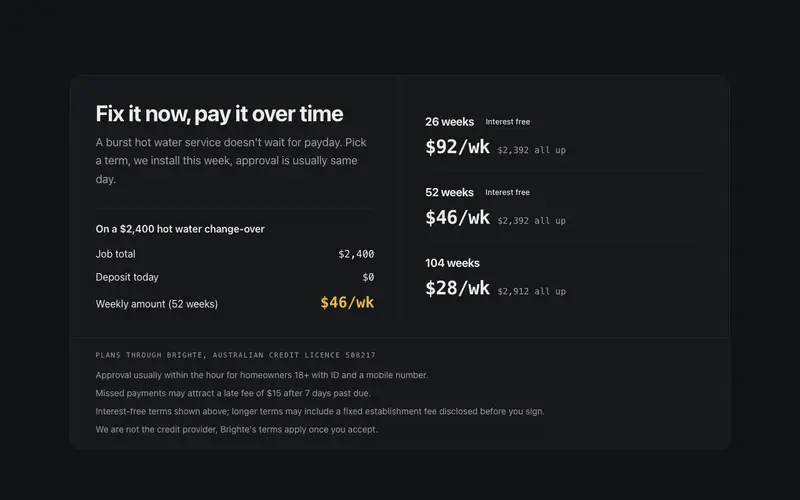
Payment Plans
Payment plan explainer React block for trades, weekly amounts in mono, a worked job example ledger, and honest fine print. Tailwind tokens, no BNPL branding.
Frequently asked questions
How do I install the Before / After Slider component?
Register the @cleverui registry in your components.json ("@cleverui": "https://cleverops.com.au/r/{name}.json"), then run `npx shadcn@latest add @cleverui/trade-before-after`. The shadcn CLI copies the source into your project, you own the code from that point. You can also copy the source directly from this page.
What dependencies does Before / After Slider require?
Before / After Slider uses motion on top of React and Tailwind CSS. You don't need to install it manually, the shadcn CLI resolves and installs npm dependencies automatically when you add the component.
Can I theme Before / After Slider to match my brand?
Yes. The component is styled entirely with Tailwind utilities over standard design tokens (primary, background, muted, border), so it inherits your existing shadcn/ui theme automatically. Change your CSS variables and the component follows, no source edits needed for palette, radius, or fonts.
Want this built for you?
CleverUI is built by the Clever Ops web team. If you'd rather ship a hand-coded, fast, custom website than assemble one, we build them for Australian businesses every week.
Explore web development services